help me setup my image generator for [domain] and paste a screenshot of your site; Pi reads your colors, fonts, and logo and builds the brand for you. You can also build one by hand under Settings, in Image Generator (/app/image-generator). Once it’s set up, creating a post and refiners can pull these images in for you.
Ask Pi to set it up
The fastest path. Give Pi the domain and a screenshot of the site in the same message: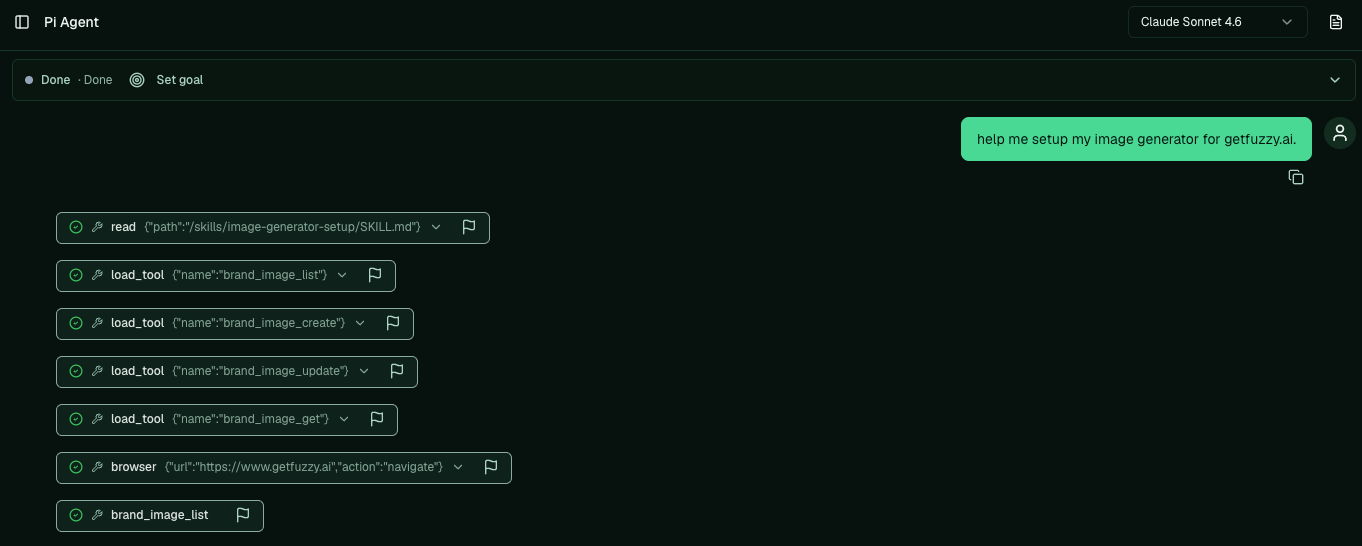
dyn-featured-[slug], dyn-cta-[slug], dyn-list-[slug]).
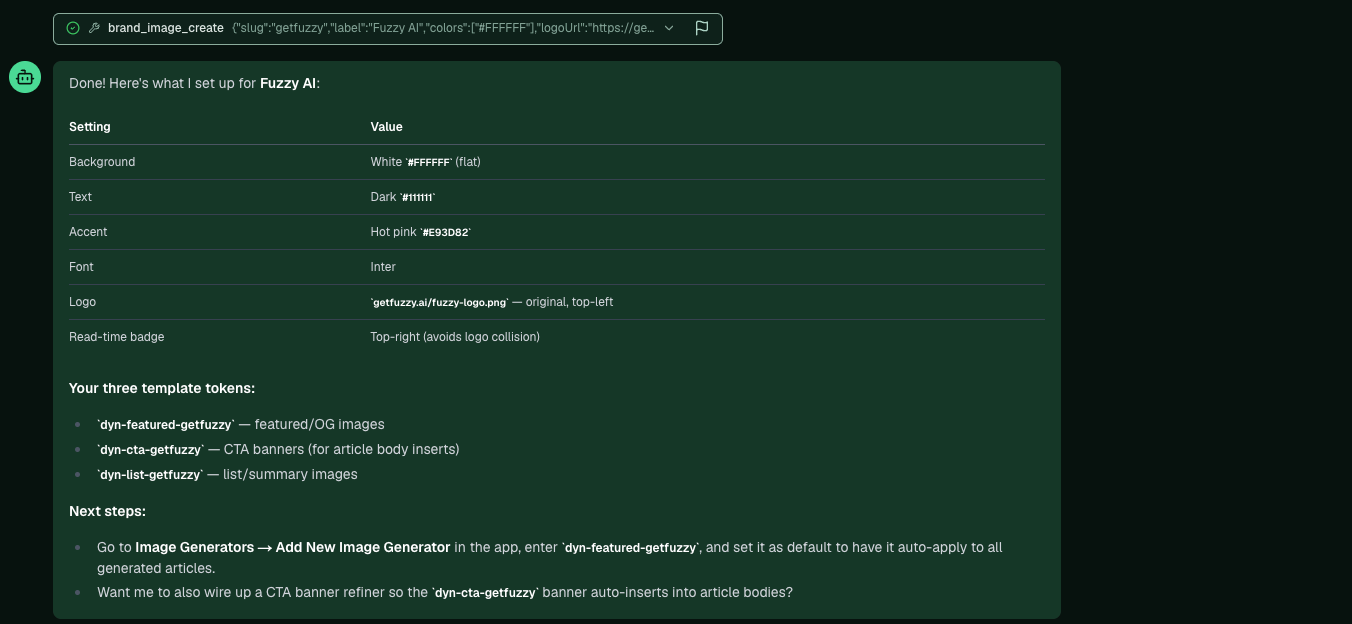
Find it in the app
Open Image Generator from the left sidebar, under Settings.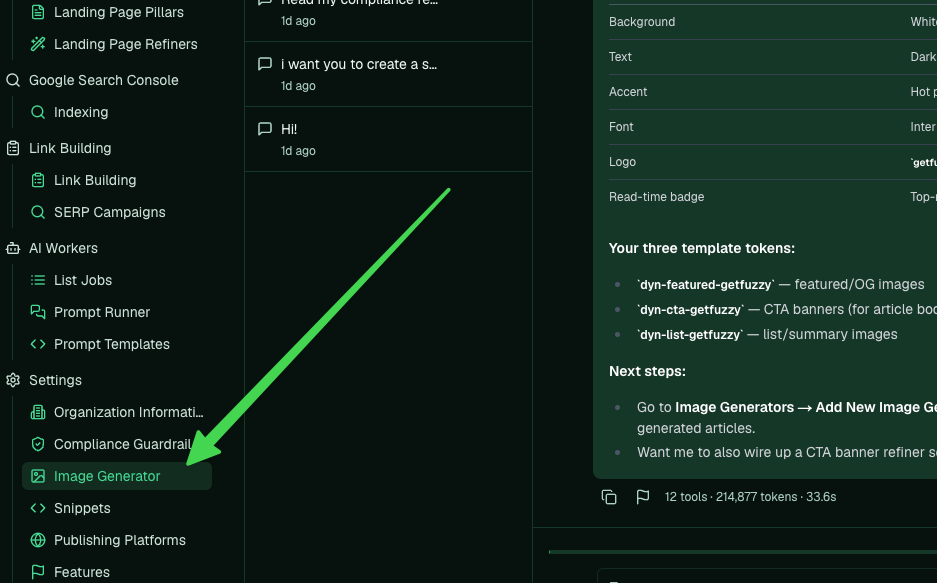
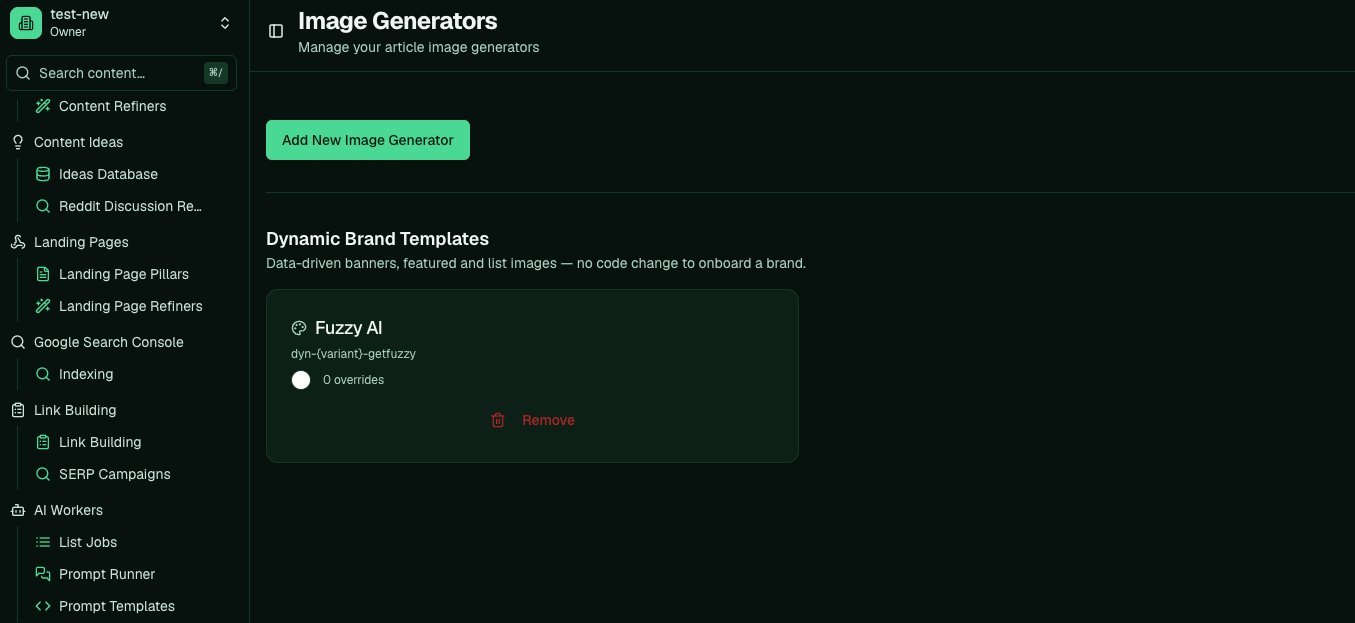
What you can edit
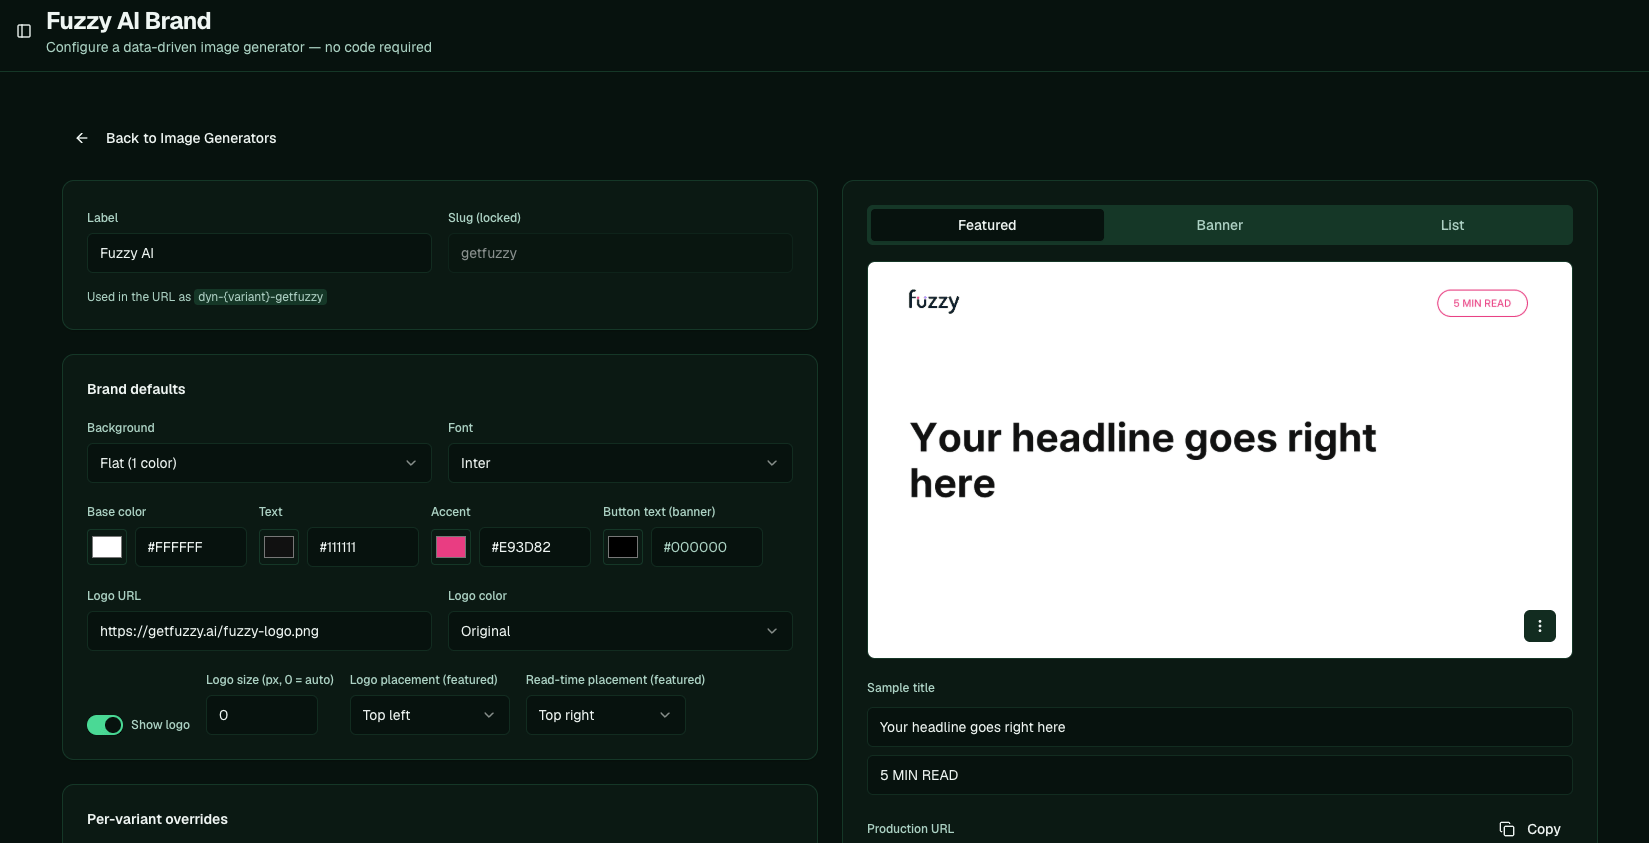
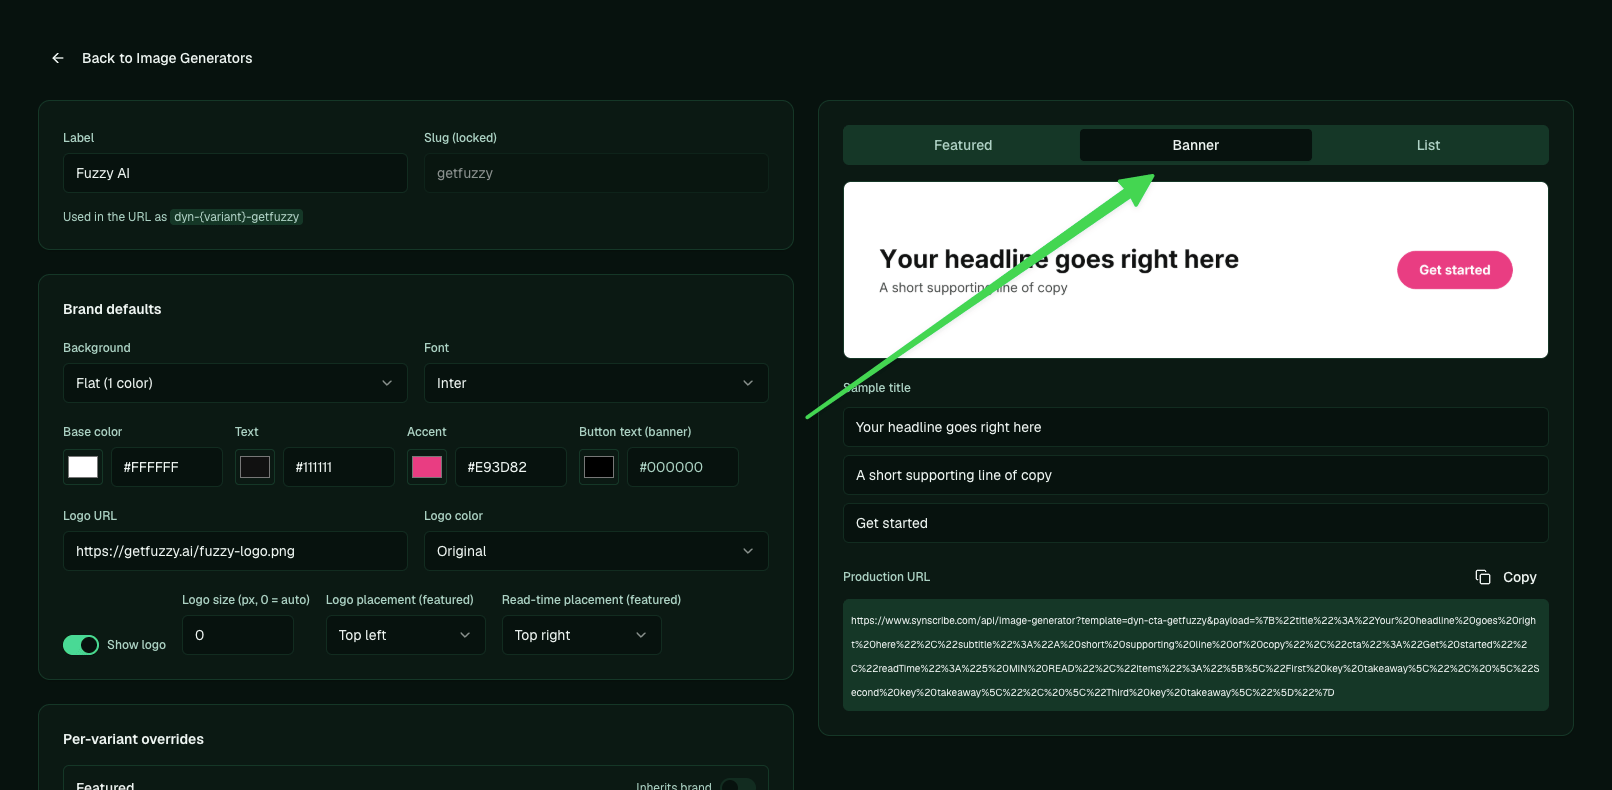
Open the brand to tune it by hand, or to check what Pi built. You control the base and text colors, the accent color, the font, and the logo (URL, color mode, size, and placement). A live preview on the right shows each variant:- Featured is the image at the top of a post, also used as the OG image for social and share previews.
- Banner is the CTA image that gets inserted into the article body, with its own button text.
- List is for list and summary images.
Set it as the default
For a brand to auto-apply to every generated article, add it as an image generator: on the Image Generators page, click Add New Image Generator, enter the featured token (dyn-featured-[slug]), and set it as the default.
Use it
Two ways the images get used:- Automatically, once the brand is the default. Generated posts pick up the featured image, and refiners can insert the CTA banner into the body. That auto-insertion is the refiner step.
- On demand. Tell Pi you made a blog post and want an image, then copy the result and drop it wherever you need it.